Part 3: Creating an Overview
Overview
Here we will be creating our overview.
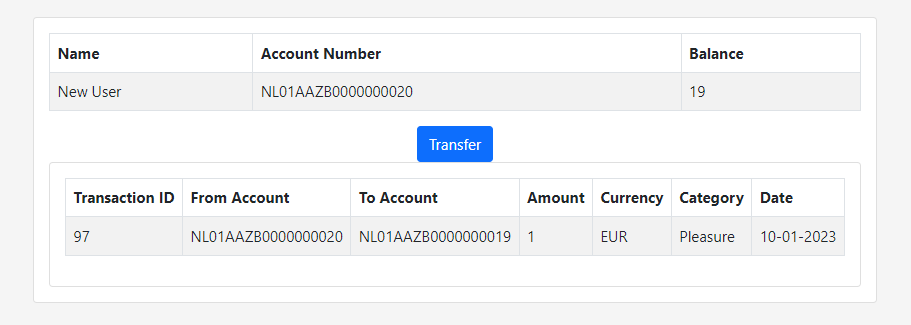
What would we like to see? We would probably want to see our name, our account number, and our balance, together with all transactions below this.
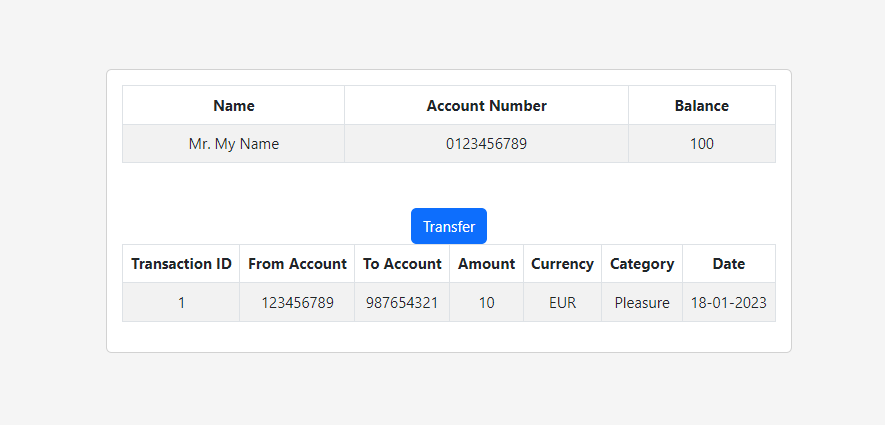
Something along the lines of this:
We will split this up in three parts, the account information part, the Transfer button, and the Transaction table.
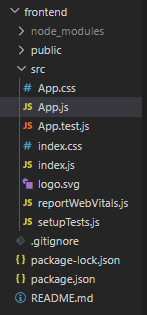
We now have a folder structure as follows:
Our application will consist of multiple subcomponents, one of them being our Overview.
We will create a new subcomponents folder in the src folder which will contain the code for our Overview. This is good practice, keeping the code for several systems separate. In there we will create a new folder called main, which will house our main functionality. This will house our Overview.js code. Anytime you want to debug or change some code, you know the folder it will be in.
The folder structure is then as follows:
src
 - subcomponents
   - main
     - Overview.js
   - other subcomponents to be added
We open our Overview.js file, which for now it a clean sheet.
We add the following code:
import {Component} from 'react'

class Overview extends Component {
  render () {
    return (
      <>
        <AccountInformation/>
        <TransactionTable/>
      </>
    )
  }
}

export default Overview
We now have our boilerplate code that will contain the rest of our functions.
We now add the placeholders for our two lower level components:
class Overview extends Component {
  render () {
    return (
      <>
        <AccountInformation/>
        <TransactionTable/>
      </>
    )
  }
}

class AccountInformation extends Component {
  render () {
    return (
      <>
      </>
    )
  }
}

class TransactionTable extends Component {
  render () {
    return (
      <>
      </>
    )
  }
}

export default Overview
We will now start filling in our Components.
We will use the Table component from react-bootstrap.
react-bootstrap is a React extension of the bootstrap framework, which is a web framework that allows for easy re-use of prebuilt components. We install it by running
npm install react-bootstrap
in the terminal. We then add the following code:
...
import {Table} from react-bootstrap
...

class AccountInformation extends Component {
  render () {
    return (
      <Table>
        <thead>
          <tr>
            <th>Name</th>
            <th>Account Number</th>
            <th>Balance</th>
          </tr>
        </thead>
        <tbody>
          <tr>
            <td>Mr. My Name</td>
            <td>0123456789</td>
            <td>100</td>
          </tr>
        </tbody>
      </Table>
    )
  }
}
The Table component makes use of the header and the body (thead and tbody). In there for each row (tr) you add an element for the header (th) and body (td).
We then move back to App.js and add
import Overview from './subcomponents/main/Overview'
add the top, so that the App can use the Overview component. We also add our imported Overview component and put it in the App function. Our App.js
will then look like this:
frontend/src/App.js
import './App.css';
import Overview from './subcomponents/overview/Overview'

function App() {
  return (
    <>
      <Overview/>
    </>
  );
}

export default App;
This also ensures that by making changes in Overview.js and saving, our entire application is re-rendered.
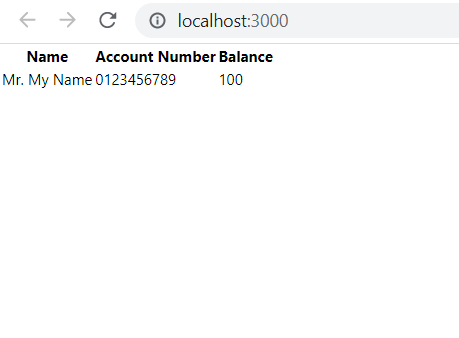
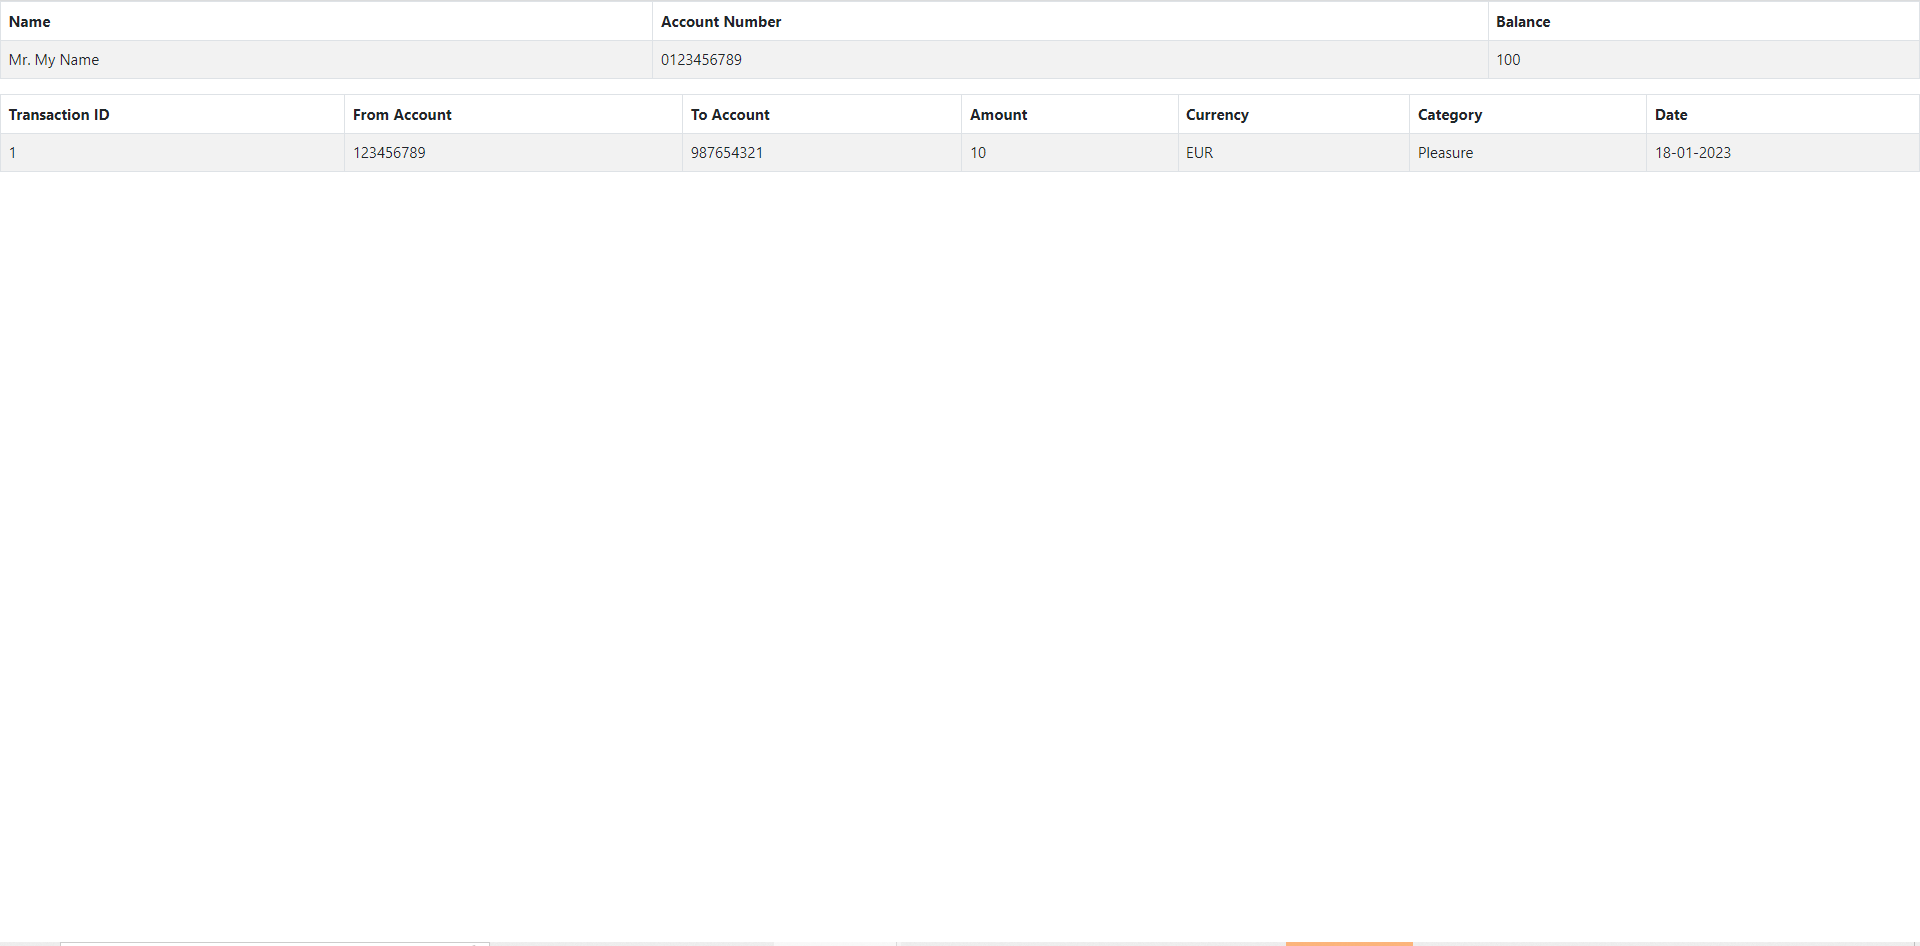
Checking our application, we see the following:
Quite ugly, but it works!
Let’s also fill in the Transaction table. The information we would like to see is how many transactions there have been, from and to which accounts the money has been transferred, the amount, the currency, the category, and on which date the transaction occurred. Let’s fill this in, with a placeholder for one transaction:
frontend/src/subcomponents/overview/Overview.js
...

class TransactionTable extends Component {
  render () {
    return (
      <>
        <Table>
          <thead>
            <tr>
              <th>Transaction ID</th>
              <th>From Account</th>
              <th>To Account</th>
              <th>Amount</th>
              <th>Currency</th>
              <th>Category</th>
              <th>Date</th>
            </tr>
          </thead>
          <tbody>
            <tr>
              <td>1</td>
              <td>123456789</td>
              <td>987654321</td>
              <td>10</td>
              <td>EUR</td>
              <td>Pleasure</td>
              <td>18-01-2023</td>
           </tr>
         </tbody>
      </Table>
      </>
    )
  }
}

...
Again quite ugly, so let’s change this.
We install bootstrap by running
npm install bootstrap
and make the following modifications to the index.js file:
frontend/src/index.js
import React from 'react';
import ReactDOM from 'react-dom/client';
import './index.css';
import App from './App';
import reportWebVitals from './reportWebVitals';
import '../node_modules/bootstrap/dist/css/bootstrap.min.css'

const root = ReactDOM.createRoot(document.getElementById('root'));
root.render(
  <React.StrictMode>
    <App />
  </React.StrictMode>
);

reportWebVitals();
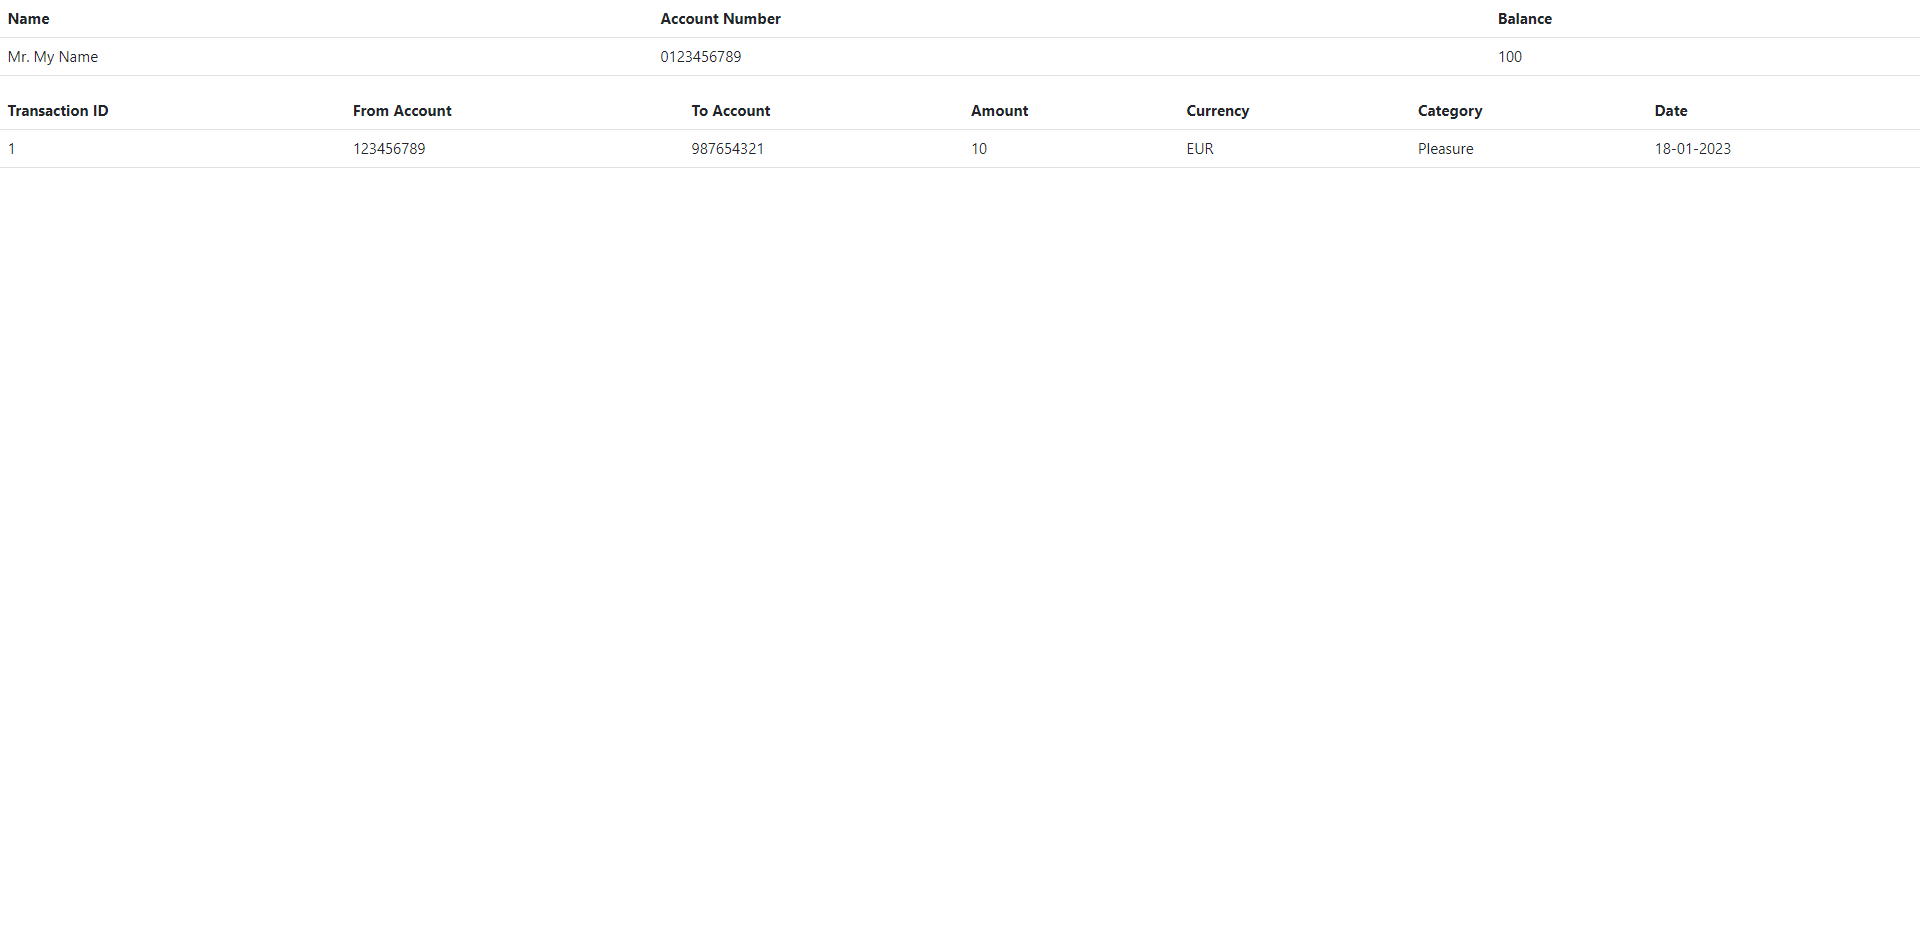
By importing the bootstrap template, we can make use of improved graphics. Our table suddenly looks much nicer:
Still, everything is very white. By making a small modification to the code there is more contrast:
frontend/src/subcomponents/overview/Overview.js
...

class AccountInformation extends Component {
  render () {
    return (
      <Table striped bordered hover>

...

class TransactionTable extends Component {
  render () {
    return (
      <>
        <Table striped bordered hover>
resulting in:
Already looking much better!
Let’s wrap it in a Card to give it a more natural look, with some distance to the edges:
frontend/src/subcomponents/overview/Overview.js
...
import {Table, Card} from 'react-bootstrap'

class Overview extends Component {
  render () {
    return (
      <>
        <Card>
          <Card.Body>
            <AccountInformation/>
          </Card.Body>
          <Card.Body>
            <TransactionTable/>
          </Card.Body>
        </Card>
      </>
    )
  }
}

...
The Table itself looks decent, but is far too wide and not centered. Let’s change that.
First let’s add a div element so that we can work CSS magic on it:
frontend/src/App.js
import './App.css';
import '../node_modules/bootstrap/dist/css/bootstrap.min.css';
import Overview from './subcomponents/overview/Overview'

function App() {
  return (
    <div className = "app">
      <Overview/>
    </div>
  );
}

export default App;
We then edit our App.css file to make everything centered, by adding the following code:
frontend/src/App.css
...

.app {
  background-color: #F5F5F5;
  height: 100vh;
  display: flex;
  text-align: center;
  flex-direction: column;
  align-items: center;
  justify-content: center;
}
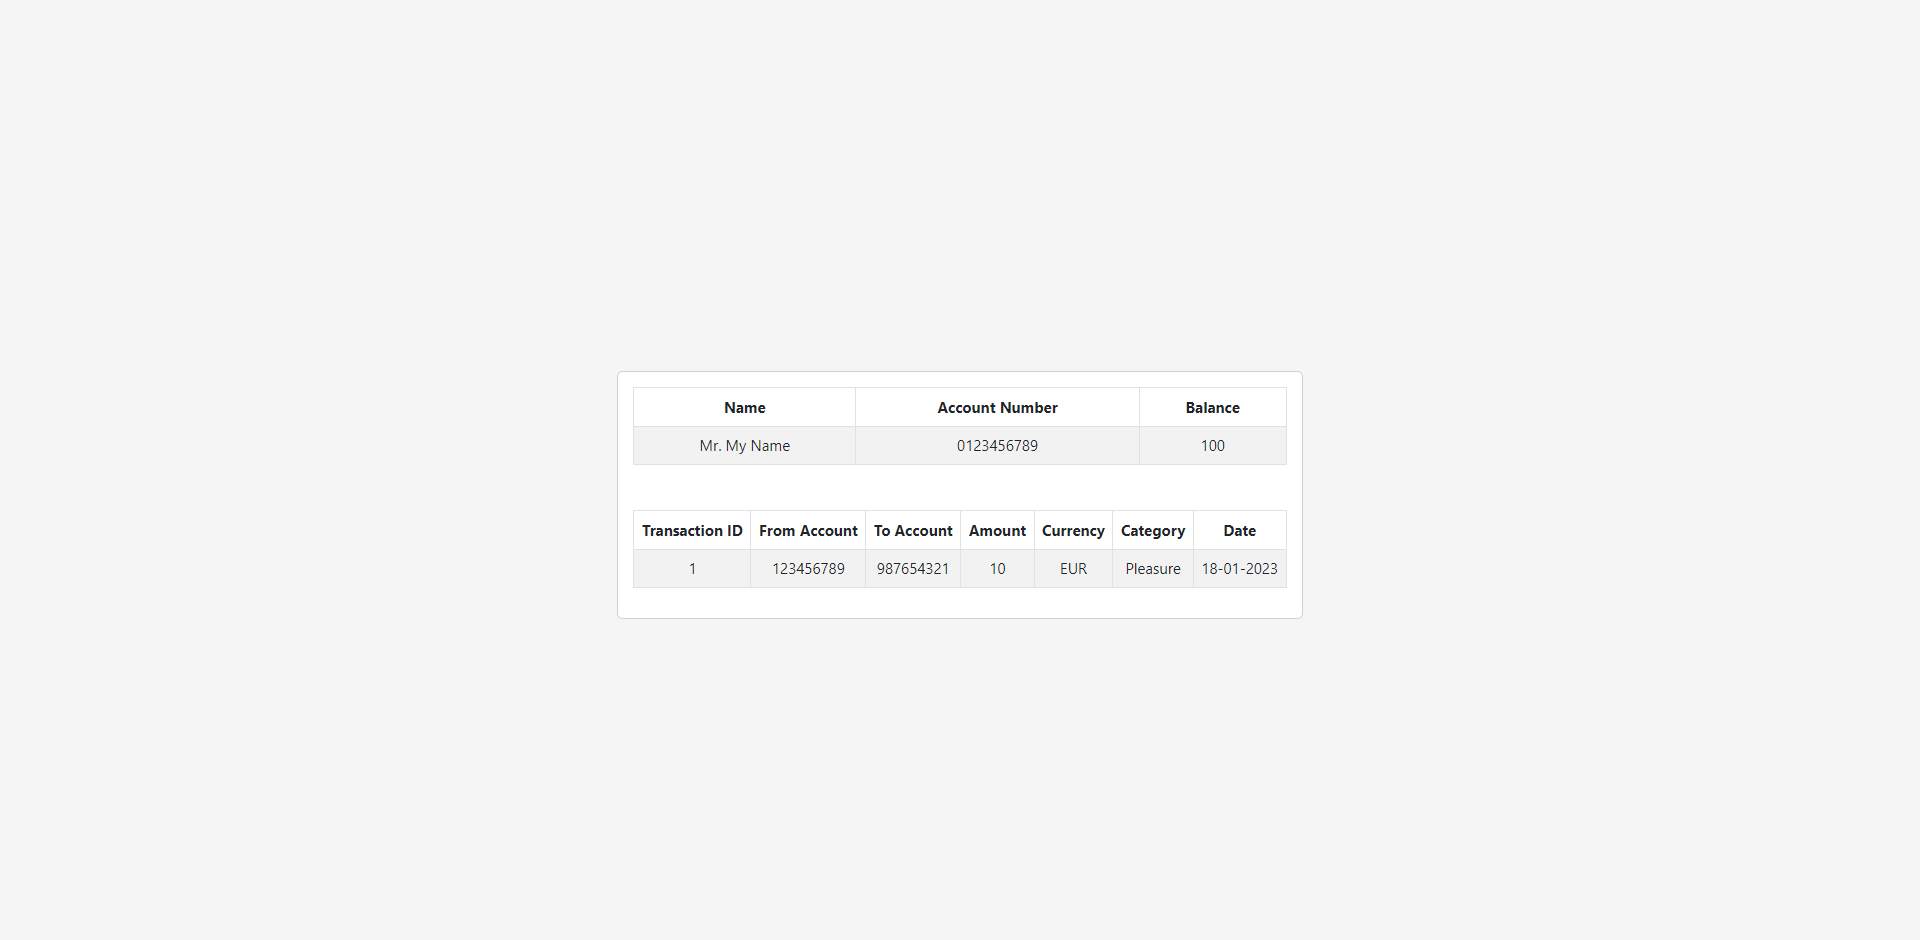
giving us a nice centered look and a nice background color for extra contrast:
Nice. Now let’s add a Button that will enable us to initiate a transfer:
frontend/src/subcomponents/overview/Overview.js
...
import {Table, Card, Button} from 'react-bootstrap'

class Overview extends Component {
  render () {
    return (
      <>
        <Card>
          <Card.Body>
            <AccountInformation/>
          </Card.Body>
          <Card.Body>
            <Button
              variant="primary">Transfer
            </Button>
            <TransactionTable/>
          </Card.Body>
        </Card>
      </>
    )
  }
}
...
The variant="primary" means we get a Blue button, because I’m getting a bit sick of all the white/grey:
Nice, our overview part is done! Let’s move on to the next part!

