Part 5: Adding Navigation
Adding a Navigation Bar
We now have two ‘pages’ so to speak. We need to be able switch between these pages depending on the actions the user takes. To make this possible we will add a navigation bar, as the interface through which a user determines which page to see.
For that I create a new folder navigation in src in which I create a Navigation.js file which will contain the code.
frontend/src/navigation/Navigation.js
import React, {Component} from 'react'
import {Navbar, Button} from 'react-bootstrap'

import './Navigation.css'

class Navigation extends Component {
  render () {
    return (
      <>
        <Navbar fixed = "top" className="justify-content-end">
          <Button
            variant = "primary">Overview
          </Button>
        </Navbar>
      </>
    )
  }
}

export default Navigation
We import our necessary imports, including the Navbar prebuilt component from React bootstrap. We create a small Navigation component, containing the variables which is now fixed at the top and shown at the right side which will contain our Button that will navigate us to our Overview (to be implemented).
We have also created a Navigation.css file that lives in frontend/src/navigation/Navigation.css that looks as follows:
frontend/src/navigation/Navigation.css
.navbar {
    padding-top: 0rem;
    padding-bottom: 0rem;
}
This ensures that the button has no padding (space around it which I find ugly).
Now to ensure we see it, we have to change some code in our Overview and TransferForm files:
frontend/src/main/Transfers.js
...

import Navigation from './../navigation/Navigation'

class TransferPage extends Component {
  render () {
    return (
      <>
        <Navigation/>
        <Card>
          <Card.Body>
            <TransferForm/>
          ...
frontend/src/main/Overview.js
...

import Navigation from './../navigation/Navigation'

class Overview extends Component {
  render () {
    return (
      <>
        <Navigation/>
        <Card>
          <Card.Body>
            <AccountInformation/>
          ...
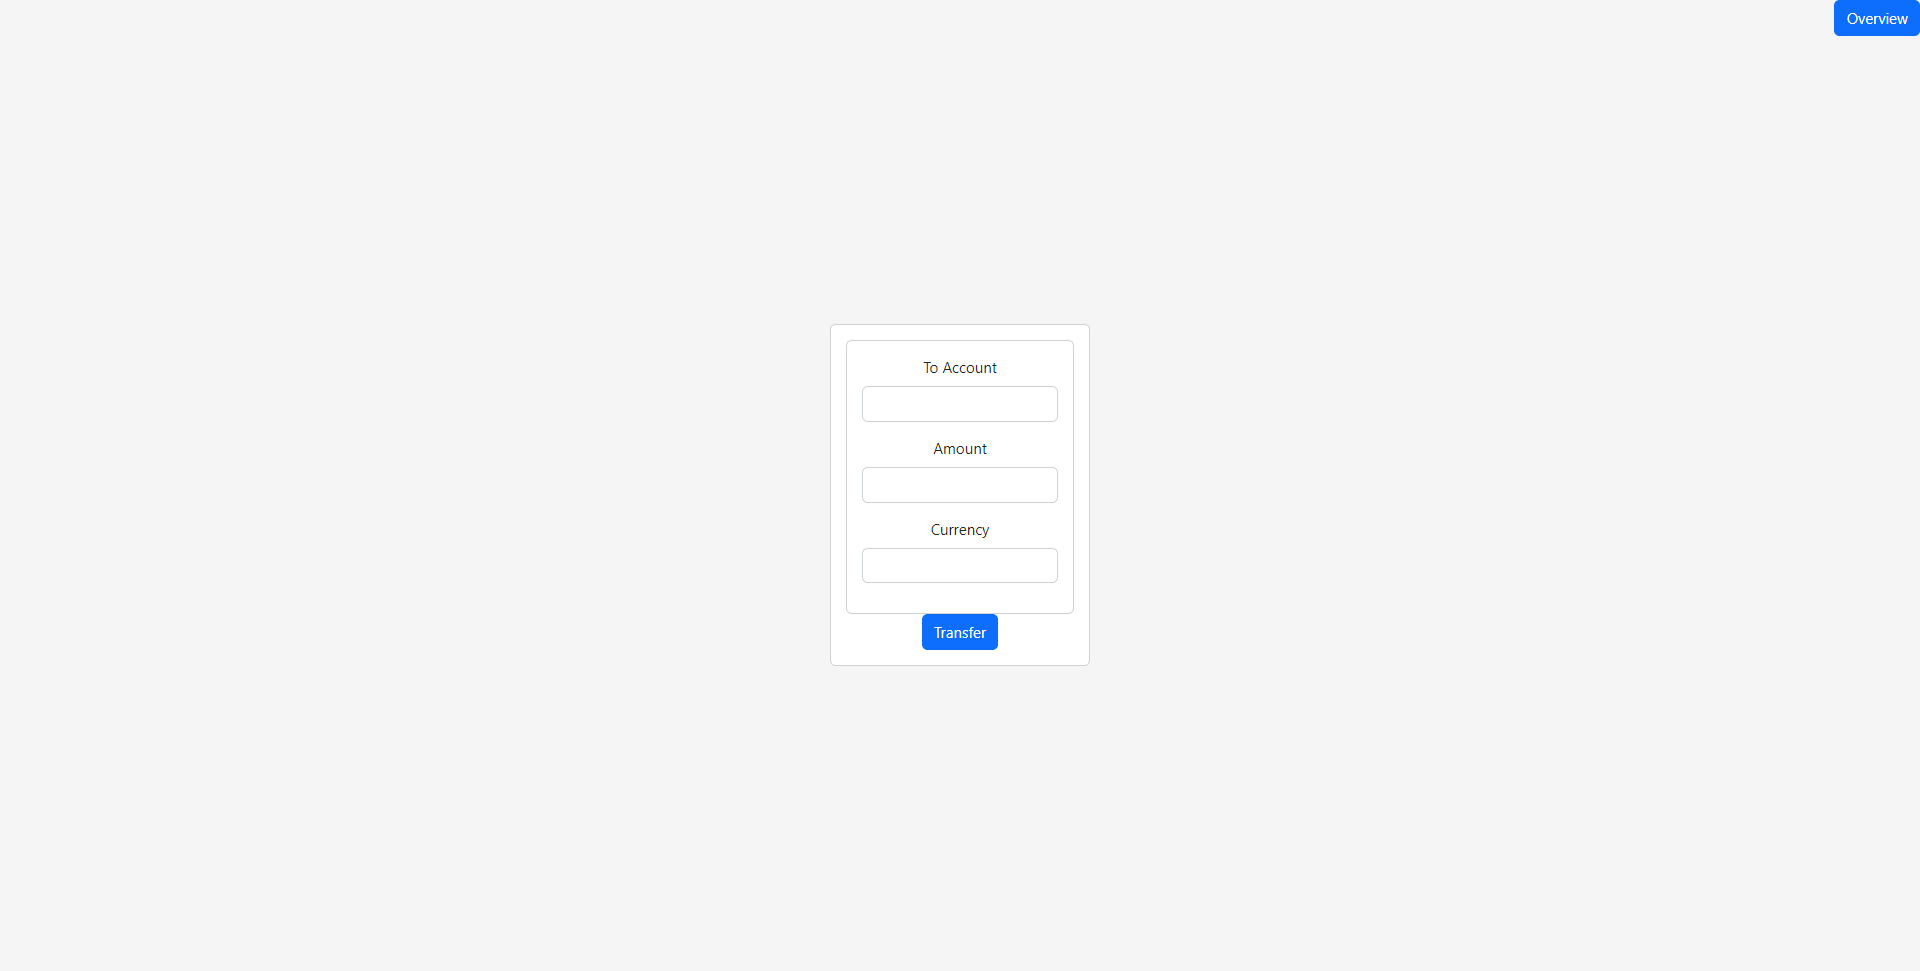
It will look as follows:
Great!

